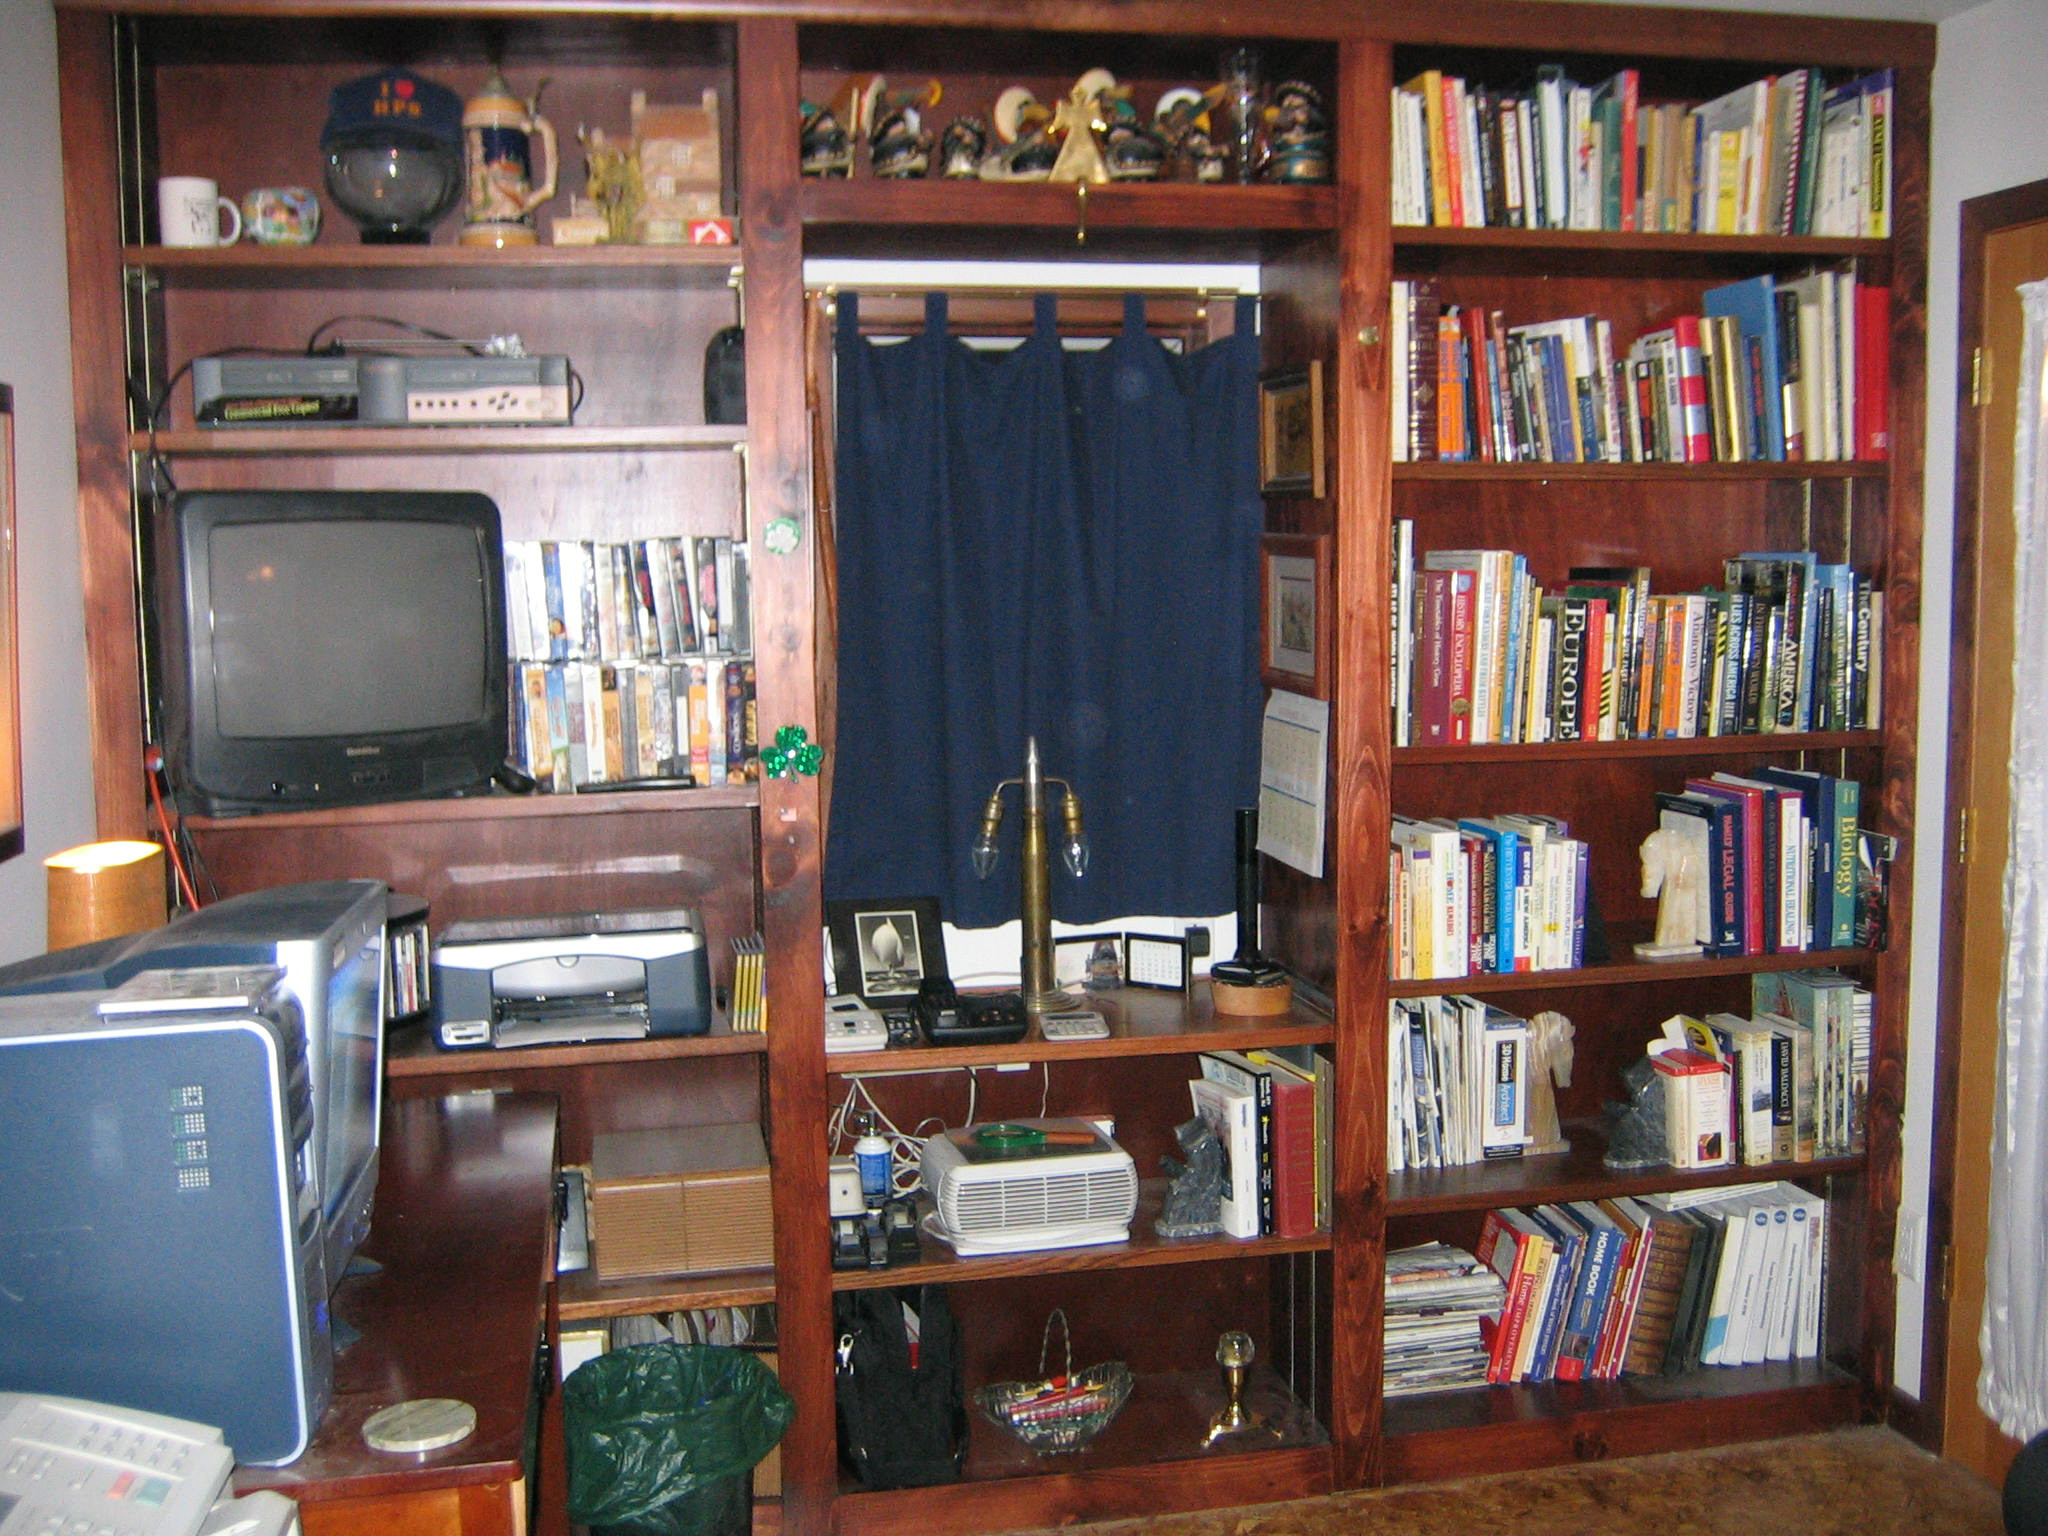
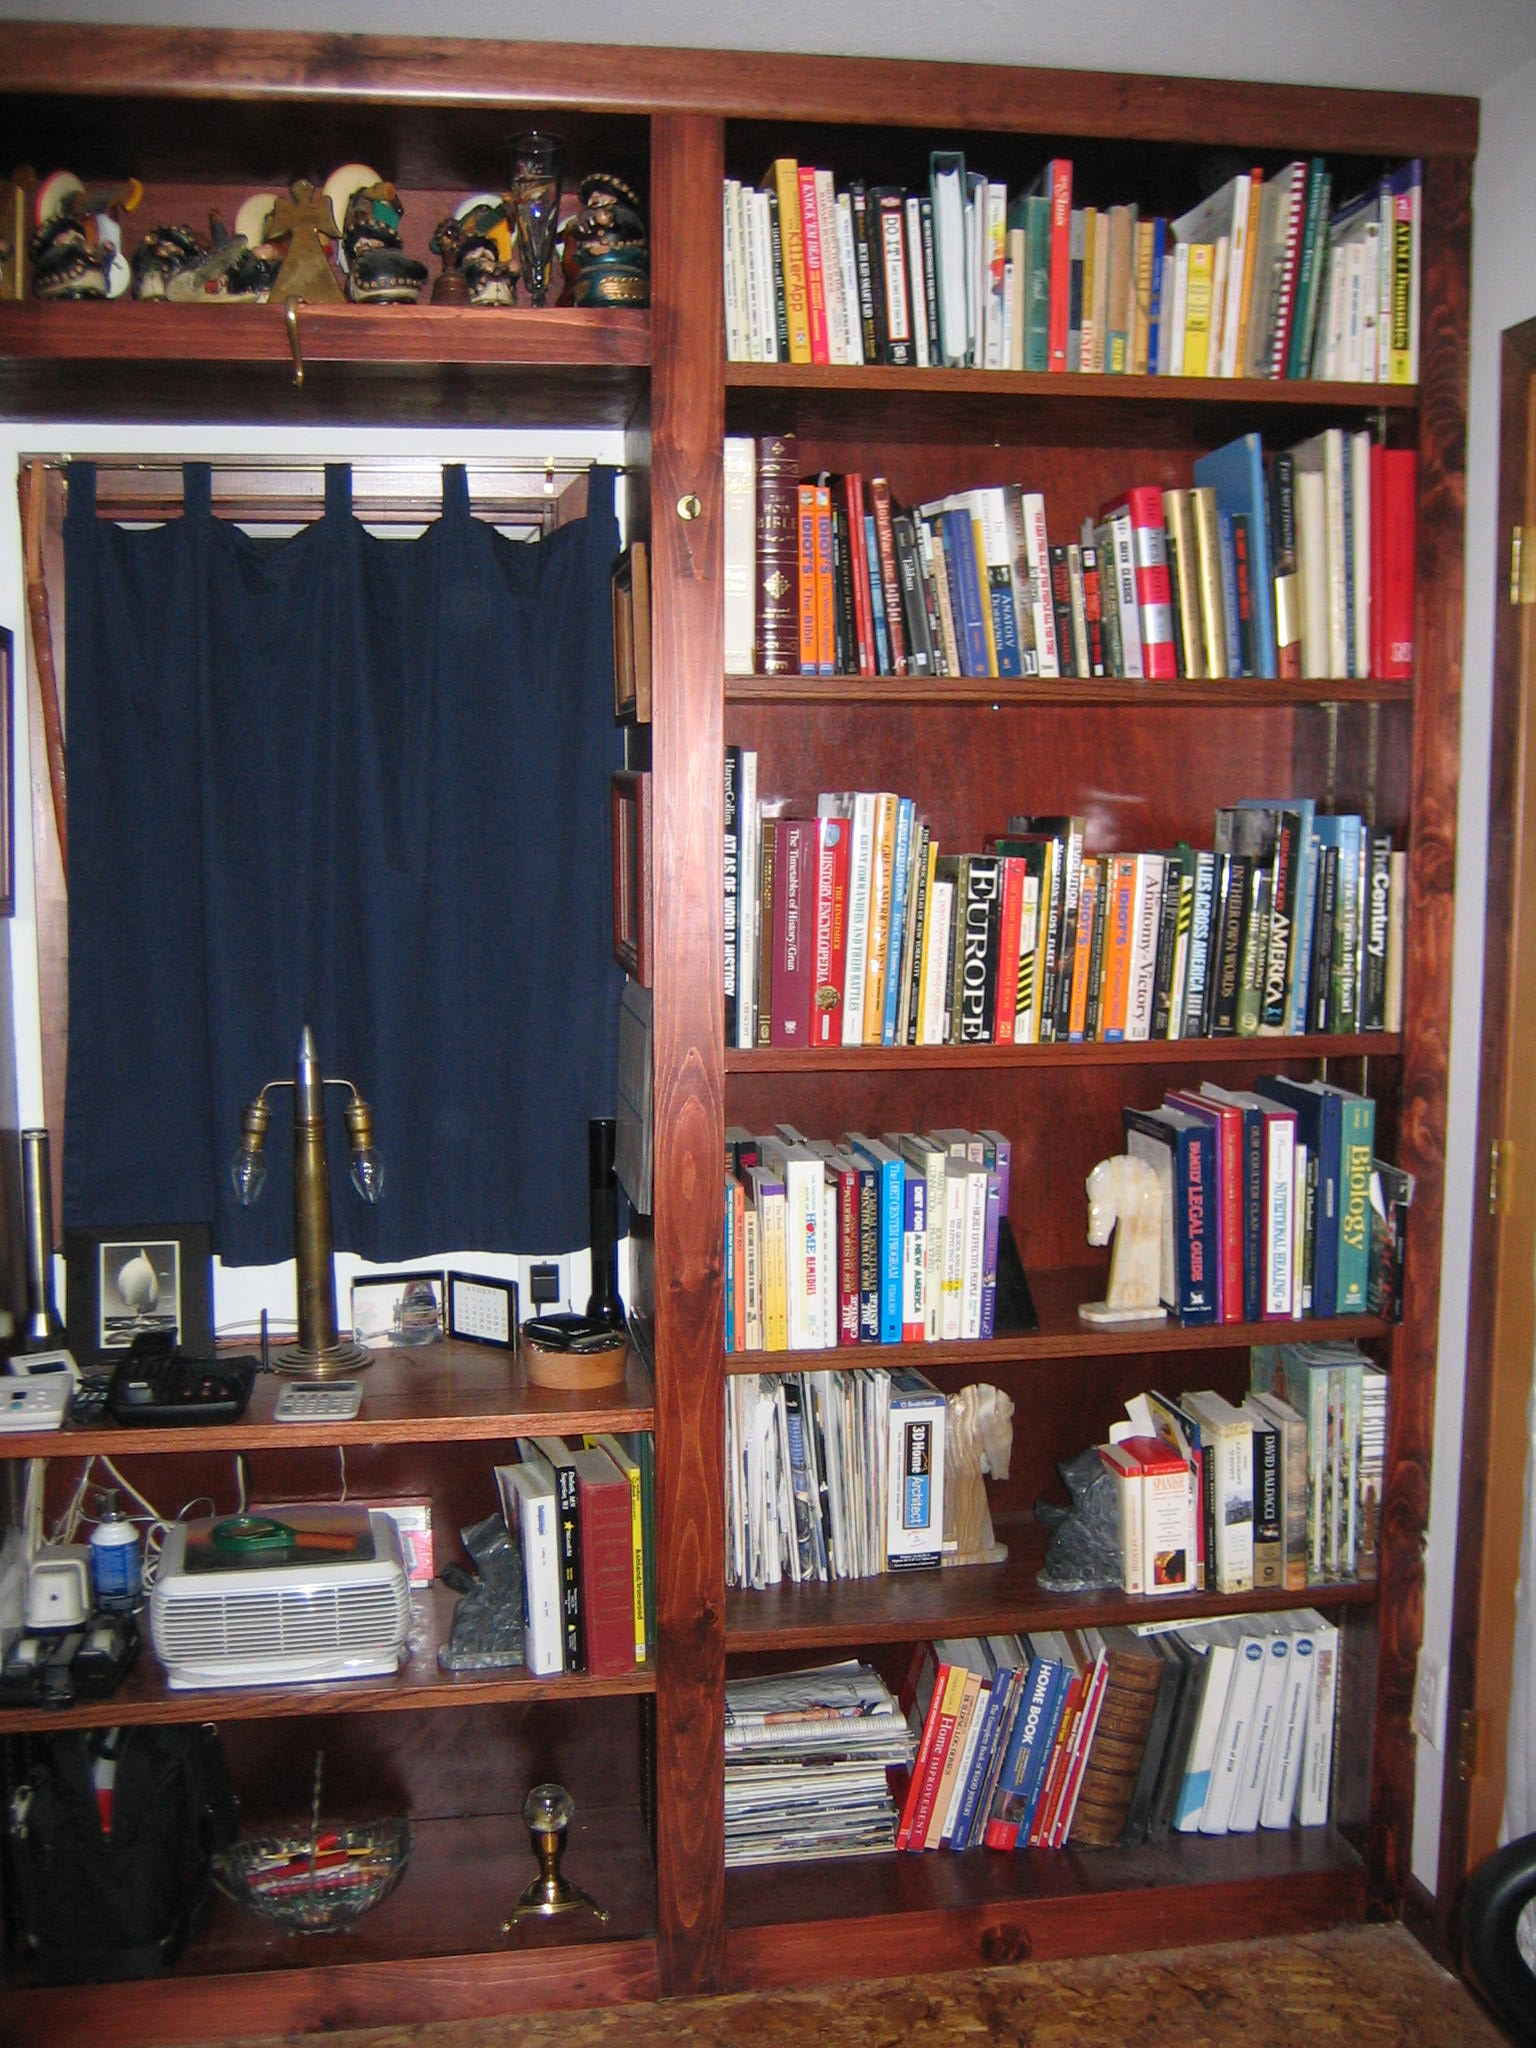
| Build the bookcases that can
be made into a built-in bookshelf unit shown on the right with just a few tools and a small investment in materials! |
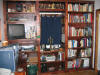
Click on image for larger view
|
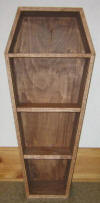
Click Here for a Free Corner Shelf Plan!
Free Built-In Book Case plan: To build a built-in wall unit book shelf, determine the
dimensions of the space required; for simplicity, I have eliminated the window requirement as shown in the photo above; you can
customize the book case plans as needed; the dimensions of this plan will be three equal-sized bookshelves that make up the wall
units:
12' Wide (three units @ 4' wide)
8' High
14" Deep
The recommended materials are 3/4" hardwood
plywood (oak, maple, cherry, etc.) and the matching hardwood trim, 1"x3".
Materials list:
6 Sheets - 3/4" Hardwood plywood; 4'x8' for
six sides, top/bottom panels and shelves.
3 Sheets - 1/8" matching hardwood plywood;
4'x8' for back panels.
2 Pieces - 2x4x12' pine for the bottom
base plates.
4 Pieces - 1"x3"x12' hardwood for the
horizontal finish trim pieces, and support bracing.
4 Pieces - 1"x3"x8' hardwood for
the vertical finish trim pieces.
5 Pieces - 1"x3/16"x12' hardwood,
doorstop strips to be used for the front edge of shelves.
60 Pieces - 2" wood screws.
60 Pieces - 6d finishing nails.
1 tube - wood glue.
12 Pieces - 4' metal shelving slotted
standards
with shelving clips.
1. Prepare the site. Measure the space
where the wall unit will sit. Remove all molding in the
required space. Locate all studs in the wall and transfer the marks
on the ceiling 14 1/2" out from the wall (you will use these
markings to secure the shelving unit to the wall studs).
2. Install the two bottom base plates upon
which the bookcases will sit; select two of the 2x4x12'; secure with
screws or spikes, one 2x4x12' flat to the floor flush to the back
wall. From the back wall measure out 14 1/8" and scribe a line
on the floor at both ends; this will represent the front edge of the
bookcase. Using these two marks as a guide, lay the second 2x4x12'
flat and secure it to the floor. Your three bookcase frames
will rest on these two base plates.
3. Build three equal-sized bookcase frames for the
built-in bookcase wall. Rip two of the 4'x8' panels to a width of 14"
for: the two sides, top, bottom panels, and one,
permanent middle shelf.
4. Select two 14"x8' panels; crosscut 3 pieces
to 46 3/8" for the top and bottom panels plus the center
solid/non-moveable shelf.
5. Cut moveable shelves. Select one 4'x8' panel; rip
two panels to 13 3/4" each; crosscut 4 shelves per unit to 46 1/8" long for the shelves.
6. Measure and cut the two side panels.
Measure from the top of the base plates to the ceiling; confirm the
distance in several spots along the two base plates; measure the
distance from the base plate to the ceiling. Using the
shortest measurement as the benchmark; use this measurement and
subtract 3/8" for ceiling clearance; this will be the height of the side
panels; for this example, the side panels will measure: 14" x 94 1/8".
7. Make two dado cuts in each side panel to receive the shelf
standards. There will be two standards on the left side panel
and two on the right side panel. Set a half-inch wide dado
blade to cut a 1/8" deep dado. Set the fence for two inches.
Select the left side panel; place it on the table saw with the good side down, make the dado cut two
inches in from the edge for the entire length of the side panel.
Rotate the panel and make another dado cut two inches in from the
other edge. Repeat this for the second/right side panel.
8. Assemble the first bookcase. Select
the top, bottom and two side panels with the dado cuts facing in;
use a clean flat floor to assemble your panels. Using a 90
degree corner jig bracket, "butt-joint" the top and bottom panels,
with the "A side" facing in, to the side panels with the dado cuts facing
in; ensure the corners are square. Use glue and three, 2" wood screws
per joint and
secure all the joints; pre-drill and counter-sink the holes. Add
the solid shelf (46 3/8", the same as the top and bottom panels)
equal distance from the top and bottom, good side up.
9. Attach the back panel. With the
shelving unit assembled on the floor, select the 1/8" plywood back
panel and lay it in position on the bookcase frame with the good
side facing in. Match up the top and one side so they are
flush to those two edges and screw and nail it in place using one
inch screws and the 6d finishing nails along the edges to include
the center shelf. Remove the excess, overhang material with a
router, saw, or a plane so all edges are flush.
10. Set the first, finished unit in place on top
of the base plates and to the left corner; allow about 1/4" space
from the left wall; the front edge of the unit should be even/flush
with the front base plate. Check the unit that it is level and
plumb; shim the unit as necessary. There should be a ceiling clearance
at the top of approximately 3/8". Install a top
support strip (hardwood; 1" x 3" x 46 3/8") to secure the wall
unit to the studs in the wall (the screws will penetrate the support
strip, the 1/8 back panel, and drywall into the stud). Select one and hold it in place
at the top of the back panel. Using the wall stud markings,
using at least two, 3" wood screws, connect the support strip to the
studs of the wall; pre-drill the holes and counter sink them.
Repeat this step and place another support strip under the permanent
shelf. These two strips will keep the wall unit from falling
forward once it is filled.

11. Build the other two shelf units repeating
the steps above. Once they are all complete and in place, they
need to be connected. Clamp the left unit and center unit together at the
top, middle and bottom. Confirm they are both level and plumb.
Using 1 1/4" screws, place six screws into the side panels clamped
together to draw them together; two at the top; two beneath the
middle shelf; two at the bottom; pre-drill and counter sink the
holes. Repeat this process for the center and right side shelf
unit. There should be a 1/4" space on each side of your wall unit.
Ensure it is all level, square, and plumb.
12. Install the horizontal trim framing strips.
Select the 1"x3"x12' hardwood; place one across the top of the unit
side to side, touching the ceiling and two side walls; and secure it
to the top of the three units with the finishing nails; use a nail gun or pre-drill the holes.
Select another 1"x3"x12' hardwood strip and place it across the bottom and secure it in place
to the bottom of the three units.

Measure
the distance between the top and bottom trim pieces; cut the 1"x3"x8'
hardwood trim to
size and nail the four vertical trim pieces in place; have the left
and right pieces touch the side walls; center the other two pieces
and nail in place.
13. Install the front edge trim pieces on the
three middle shelves. Select the trim pieces; 1"x3/16"x12'
hardwood, doorstop strips to be used for the front edge of shelves.
Measure the distance of the center shelf between the vertical trim
pieces; cut the three shelf front trim pieces to size, glue and tack
them to the three middle shelves.
14. Install the front trim pieces to the front
of the movable shelves. Select the 12, 46 1/8" movable shelves
and the front trim pieces, 1"x3/16"x12' hardwood, doorstop
strips to be used for the front edge of shelves. Cut the
12 strips to 46 1/8"; glue and tack them to the front edges of the
shelves; keep the top flush and allow the overhang/reveal to remain at the
bottom of each shelf.
15. Install the metal slotted shelving
standards. Select the shelving standards; measure and cut to
size, if necessary; screw them into place in the dado grooves;
ensure the holes are equal and level on each side panel.
16. Set the shelves in place, stand back and see what you have created. OK, stop gloating; remove
the shelves, remove the slotted standards, and begin finishing your wall unit. Sand all surfaces; finish with a 220 grit.
Remove all dust and stain to desired color; apply three coats of polyurethane and let it cure. Re-install the shelf
standards, set the shelves to the desired height, and fill the shelves with stuff.
Note: You may desire to relocate electrical outlets or add lights, add doors and roll-out
shelves as an option.
Click here for another free bookcase
plan!
More FREE Plans!
Picnic Table Plans
Gun Rack Plans
Bookcase Plans
Bird Feeder
Boot Rack
Toy Box