|
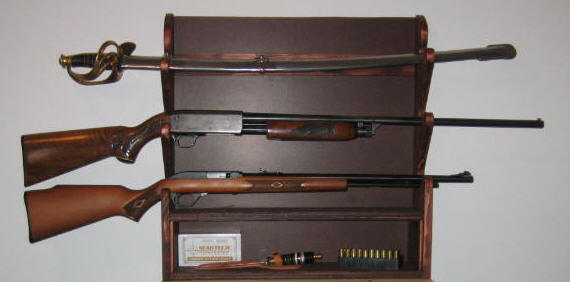
This Rifle Rack Plan is only one
design of many possibilities to store rifles and shot guns!
If you would like to replicate it, follow the simple
directions below.
Material List:
One, 1 x 6 x 8' (Use a hardwood or
composite; do not use pine; pine will break when the
side panels are cut)
One, 1 x 2 x 2'
Two pieces, 1/4" plywood, 5 1/2" x 4
1/2"
One piece, 1/8" backboard, 2' x 2'
1 1/2" brads and wood glue

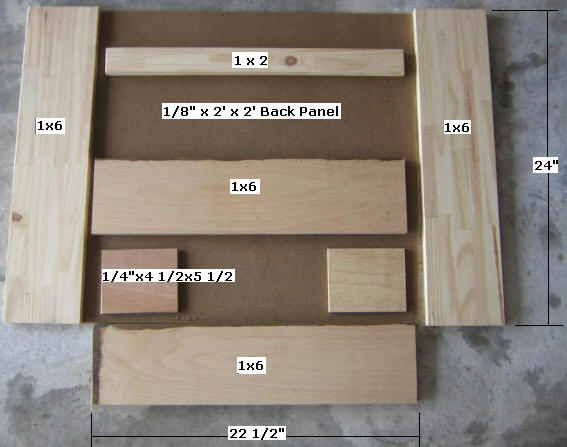
Step 1 - Select 1 x 6 and
cut two pieces to 24" length for side panels.
Step 2 - Select the 1 x 6 and
cut two pieces to 22 1/2" length for storage area.
Step 3 - Select the 1 x 2 and
cut one piece to 22 1/2" in length for top brace.
Step 4 - Select the 1/4" x 5
1/2" plywood and cut two pieces to 4 1/2" for spacers for
storage area.
Step 5 - Dry fit all the pieces
to confirm proper fit.
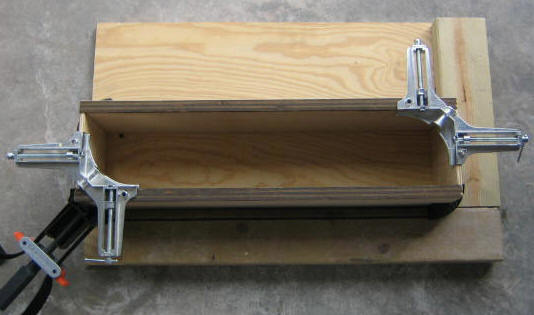
Step 6 - Assemble the base
storage area. Select the two pieces of 1 x 6 x 22 1/2"
and the two pieces of plywood, 1/4" x 5 1/2" x 4 1/2".
Using a box corner jig and other corner jigs, assemble,
glue, and nail together the four pieces.
Option: Do not assemble
this storage area box at this time; use the 1/4" plywood as
spacers only, not as permanent side pieces.
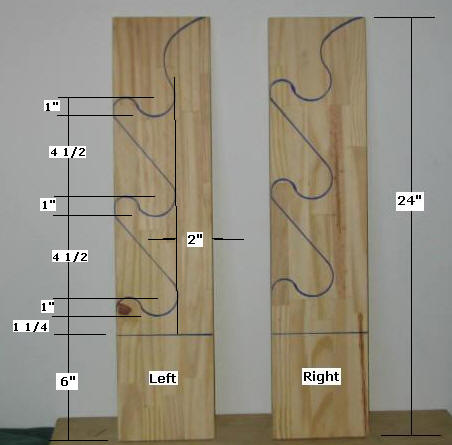
Step 7- Select the two, 1 x 6
side panels; mark the location of the base storage space,
6", and layout the pattern for cutting the rifle
slots. Notice the slots on the right side (the side
that will hold the rifle barrels) are drawn one inch higher;
this is so the rifle barrels will rest level.
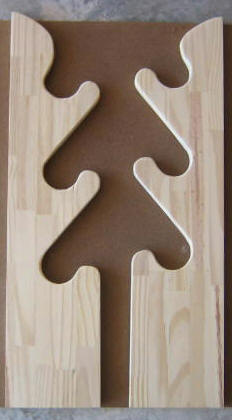
Step 8- Cut out the side
panels; using a band saw, coping saw, or rotary saw, cut out
the panels; I used a 2 1/8" hole cutter to cut out the round
slots.
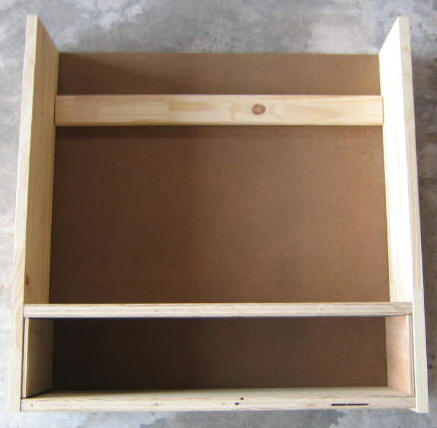
Step 9- Assemble the gun
rack; assemble the side panels to the base storage area.
Note: Use the 1/4"
plywood storage area sides as spacers only; after attaching
the bottom and top of the storage area to the side panels,
you can dispose of the spacers.
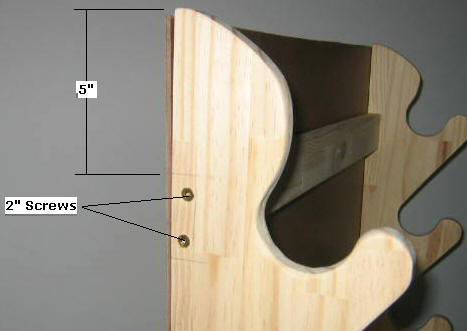
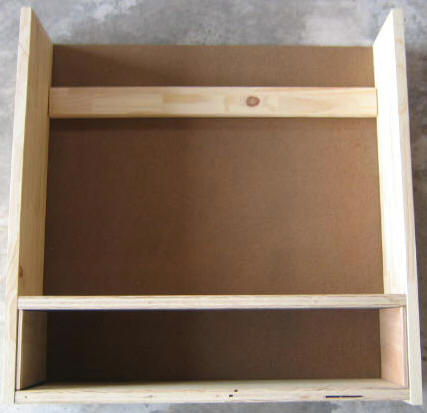
Step 10- Assemble the top
brace; Select 1 x 2 and place the top cross brace 5"
down from the top edge; use two 2" wood screws on each end
to secure the brace in place (counter sink the holes).
Note: Use this Top
Cross Brace to secure the gun rack to a wall.
Step 11- Assemble the Back
panel; Select the 2' x 2' back panel and nail it into place
with 1" brads.
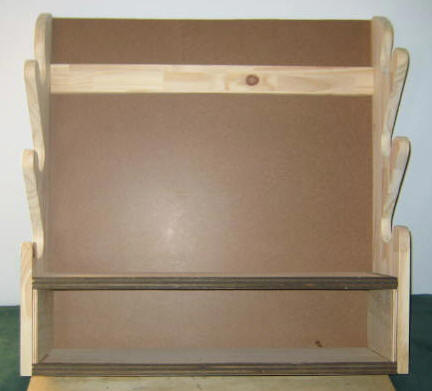
Your Gun Rack is now complete and
ready for painting or staining to suit your personal needs;
use wood putty to fill all the nail/screw holes and sand
before you finish your rack. Use the top support brace
to secure the Gun Rack to the wall using 2 1/2" woodscrews
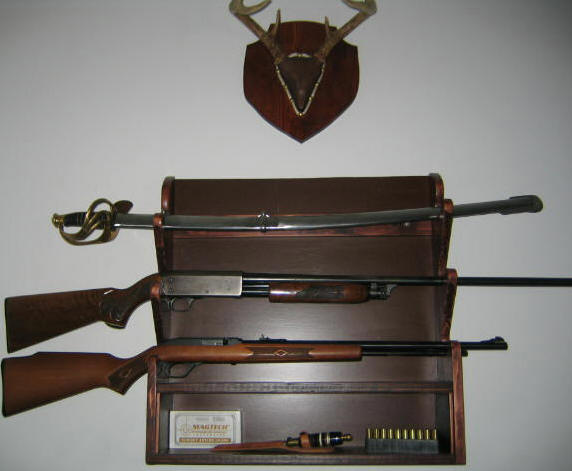
into two studs. You can now keep
your rifles displayed high and ready to protect the
homestead; enjoy.
More FREE Plans!
Picnic Table Plans
Coffin Plans
Bookcase Plans
Bird Feeder
Boot Rack
|