|
Material List:
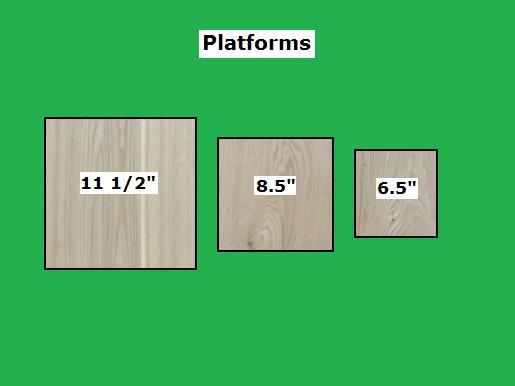
1" Solid Wood: 11.5" x 11.5": One piece
for the Bottom Tier/Platform
1" Solid Wood: 8.5" x 8.5": One piece
for the Middle Tier/Platform
1" Solid Wood: 6.5" x 6.5": One piece
for the TopTier/Platform
1" Solid Wood: 2 1/8" x 66": Four pieces
for the Legs
1 1/4" Kreg Screws: 24
Eight Coat Hooks
Polyurethane
Wood Glue
Tool List:
Measuring Tape
Pencil
Table Saw
Miter Saw
Palm Sander
Router w/1/4" Rounding Bit and an Ogee Bit or desired
edging bit
Drill/Screw Gun
9/64" Tapered drill bit w/5/16" Counter Sink Shank
Kreg Pocket Hole System
Two Pipe Clamps
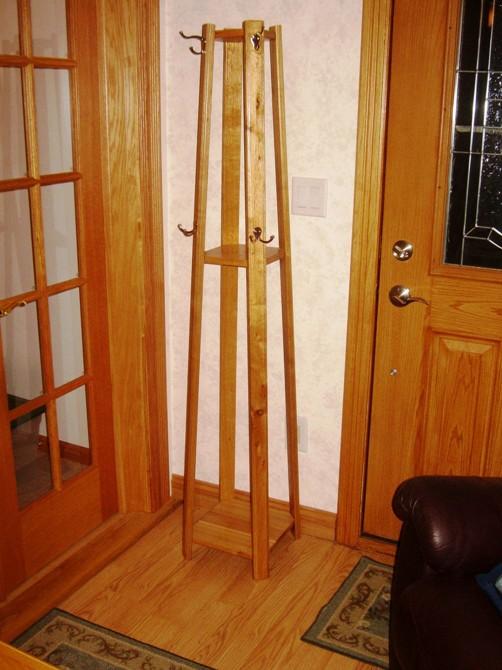
Step 1, Cut the Coatrack Pieces - Select the Materials.
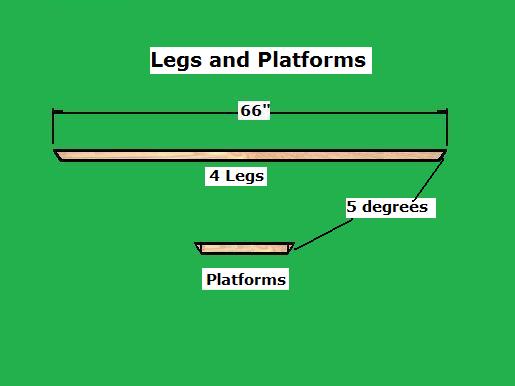
Select the 1" Solid Wood: 2 1/8" x 66",
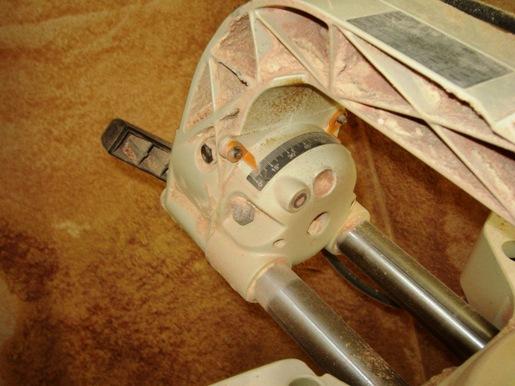
Four pieces for the Legs; Using a Miter Saw, cut each end @ 5 degrees, as shown
above. Using a Sander, sand all four pieces. Using a Router with
desired bit, router the two, outer edges (the long side) of each piece.
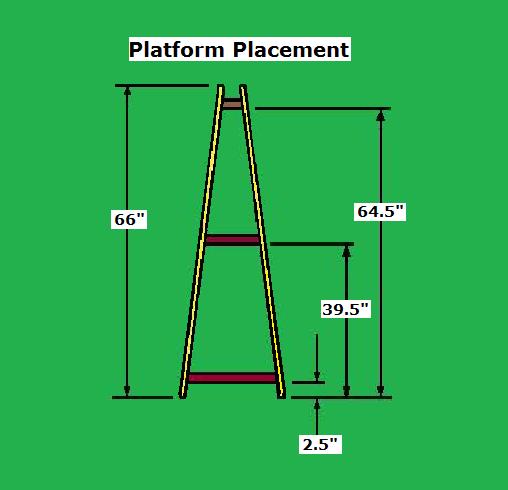
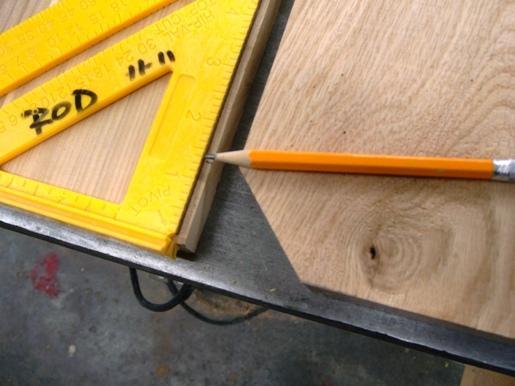
Using a ruler, mark a line on the inside of the four legs (the short side) the
measurements for the placement of the Platforms, as shown above @ 2.5", 39.5",
and 64.5".
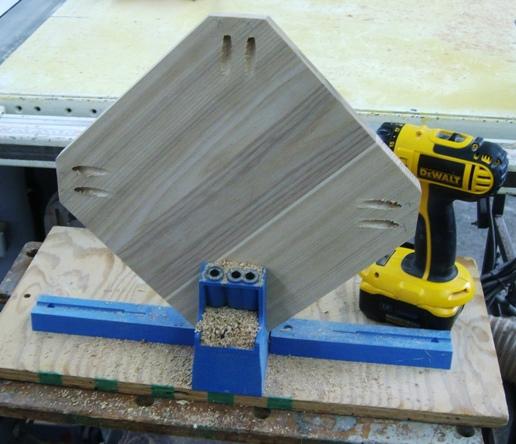
Select the 1 x 12 Solid Wood; Using a Table and/or Miter
Saw to cut the three square Platform pieces: 11.5", 8.5", 6.5". Using a
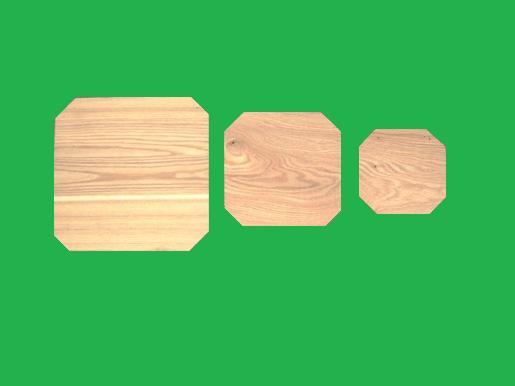
Ruler, measure and mark at each corner 1 3/8", as shown above. Using a
Miter saw, set the saw blade at 5 degrees and set the table at 45 degrees; cut
each of the corners at the 1 3/8" mark. Using a Kreg Pocket Hole System, drill
two pocket holes at each corner of each piece on the under side (the side with
the larger surface). Sand the top and bottom surfaces.
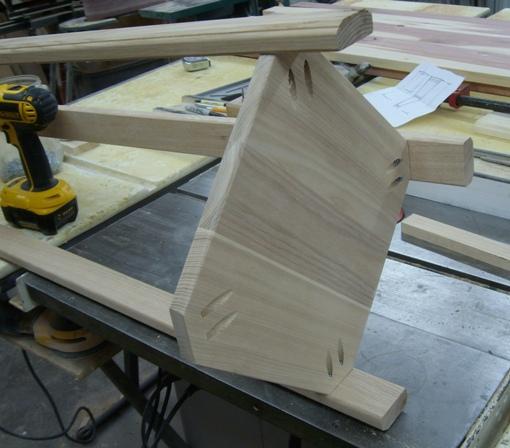
Step 2, Assemble the Coat Rack- Select all pieces
Select One Leg and the Bottom and Top Platform pieces;
Using glue, clamps and Kreg Screws, attach the Bottom and Top Platform pieces
on the marked lines (the lines marked in Step 1).
Select another Leg and line it up on the marked lines at
the top and bottom, opposite of the previous Leg; Using glue, clamps and Kreg
Screws, attach the second Leg.
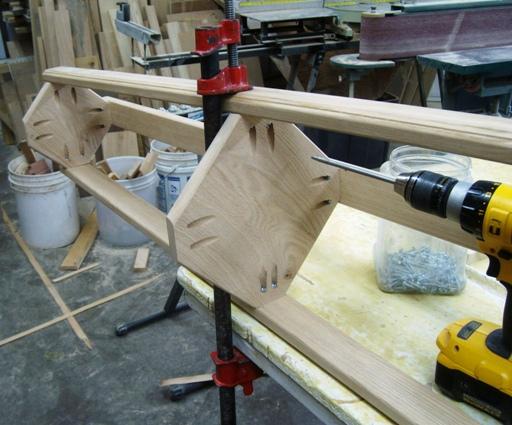
Select the third and fourth Legs and line them up to the
marked lines; Using glue, clamps and Kreg Screws, attach the third and fourth
Legs.
Select the Middle Platform and line it up using the
guidelines; Using glue, clamps and screws, attach the Middle Platform.
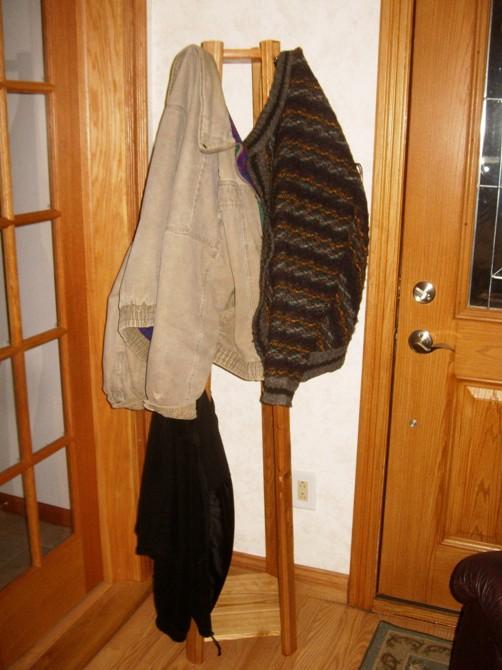
Step 3, Finish the Coat Rack- Perform a final sanding and Poly the finished
rack; add Coat Hooks of your choice.
|