|
There are a myriad of beanbag toss game
plans on the web; this bean bag plan is for a simple, fast,
inexpensive design. This
simple, but effective plan can provide many years of service. You can build
it
practically for free with the materials laying around your workshop;
I used some 2x4 scraps left over from a building project plus
a sheet of 5/8" OSB.
Material List:
(3) 5/8" OSB or plywood 2'x4' panels for the
top and three sides.
(2) 2x4x8' for the support nailing
cleats.
(1) 1x3x4' for
the Bottom cleat.
1/4 pound of 1 5/8" screws.
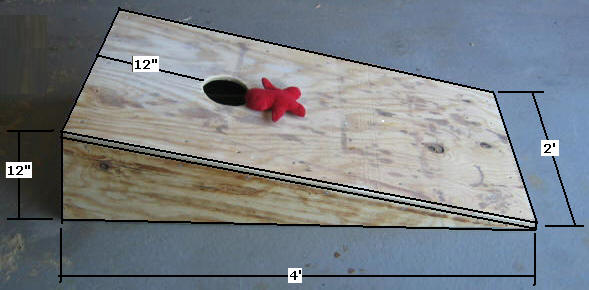
Step 1, Drill Bean
Bag Hole - Select the
5/8" x 2' x 4' material; cut a 6" hole, 6" down from the
top edge to the top edge of the circle.
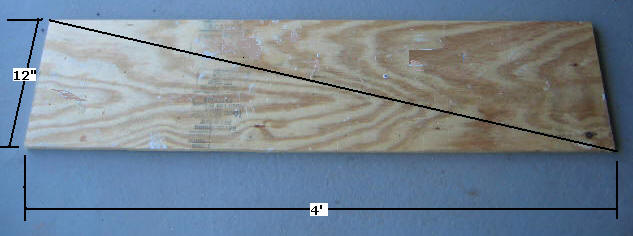
Step 2, Cut the Side Panels - Select the
5/8" material; cut a piece 1' x 4'; draw a diagonal line
from one corner to another. With a saw, cut along the
line to make two, equal-sized, side panel triangles, as shown above.
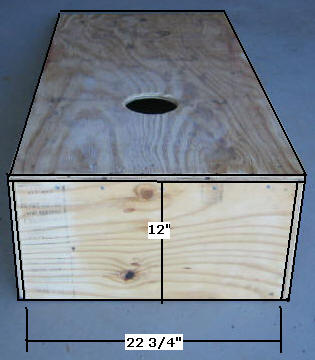
Step 3, Cut the Back Panel -
Select the 5/8" material; cut a piece 12" x 22 3/4" as shown above.
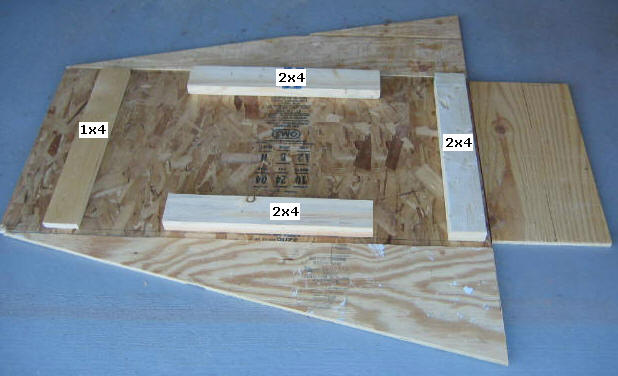
Step 4, Cut Nailing Cleats - Select
2x4; cut three pieces @ 22 3/4". Select 1x4; cut one
piece @ 22 3/4", as shown
above.
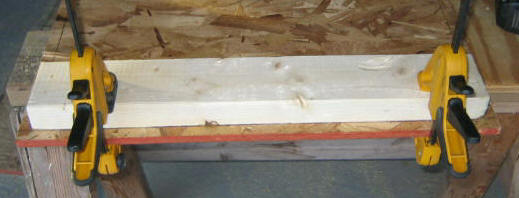
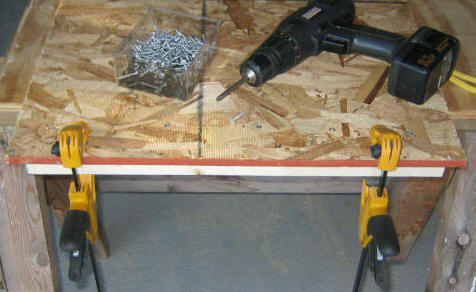
Step 5, Attach Nailing Cleats - Select the
2x4 Nailing cleats; allow a 5/8" reveal for the edge panels,
clamp the cleat in place, flip the top panel; attach the
cleat to the panel with the screws, as shown
above. Attach the other two 2x4 cleats as shown above.
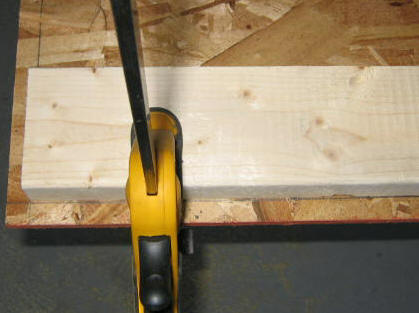
Select and attach the 1x4 cleats,
as shown below; be certain to place the 1x4 about three
inches from the bottom edge.
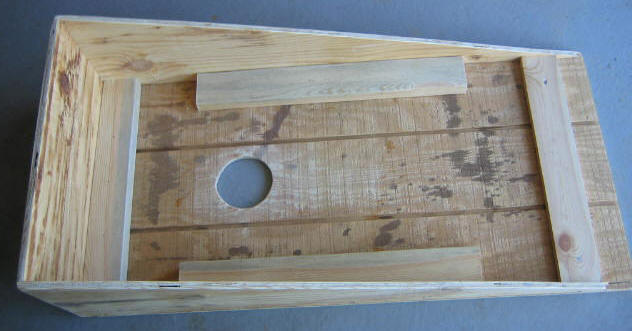
Step 6, Attach Three Side Pieces - Select the
two triangle side panels; attach them to the nailing cleats
with screws. Select the Back panel and attach it to
the nailing cleat as shown above.
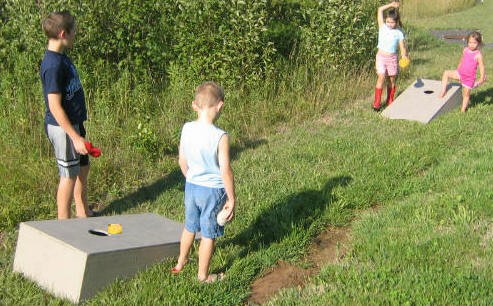
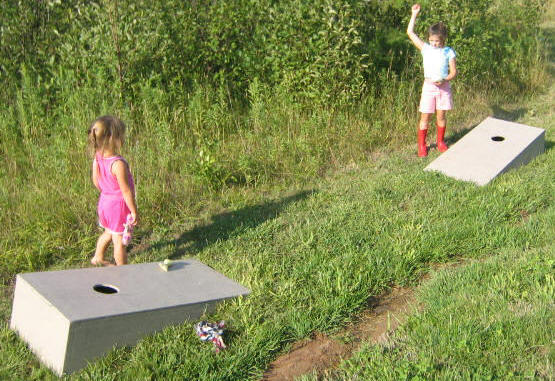
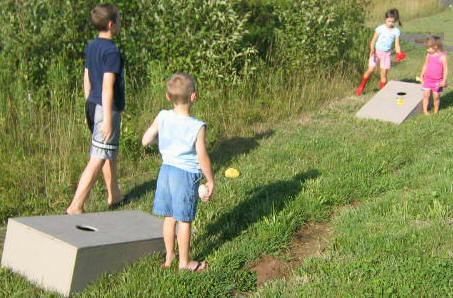
Step 7, Finish the Target Board
- Use a wood filler to fill all holes; sand, stain or paint
your game board. When finished, duplicate the process
to produce a second game board; then produce or purchase
some bean bags and begin perfecting your game like these
poor street urchins.
|